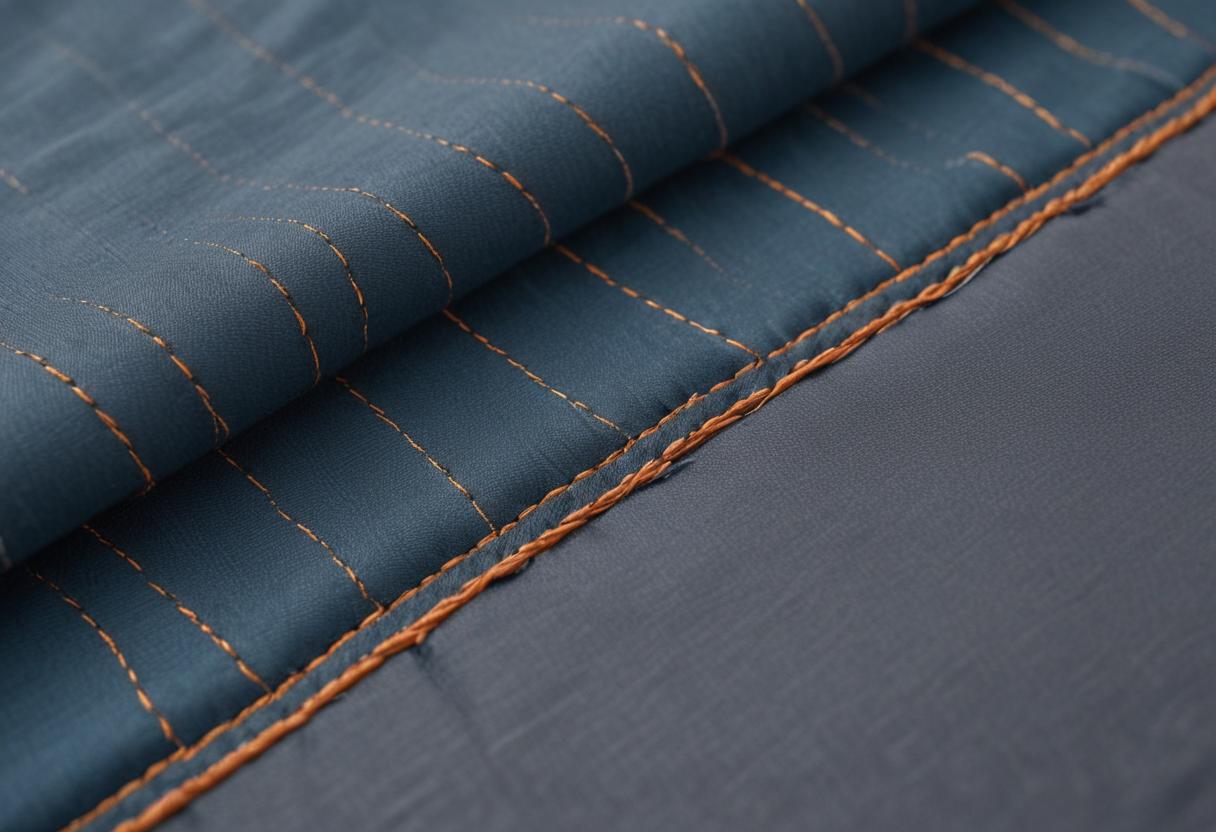
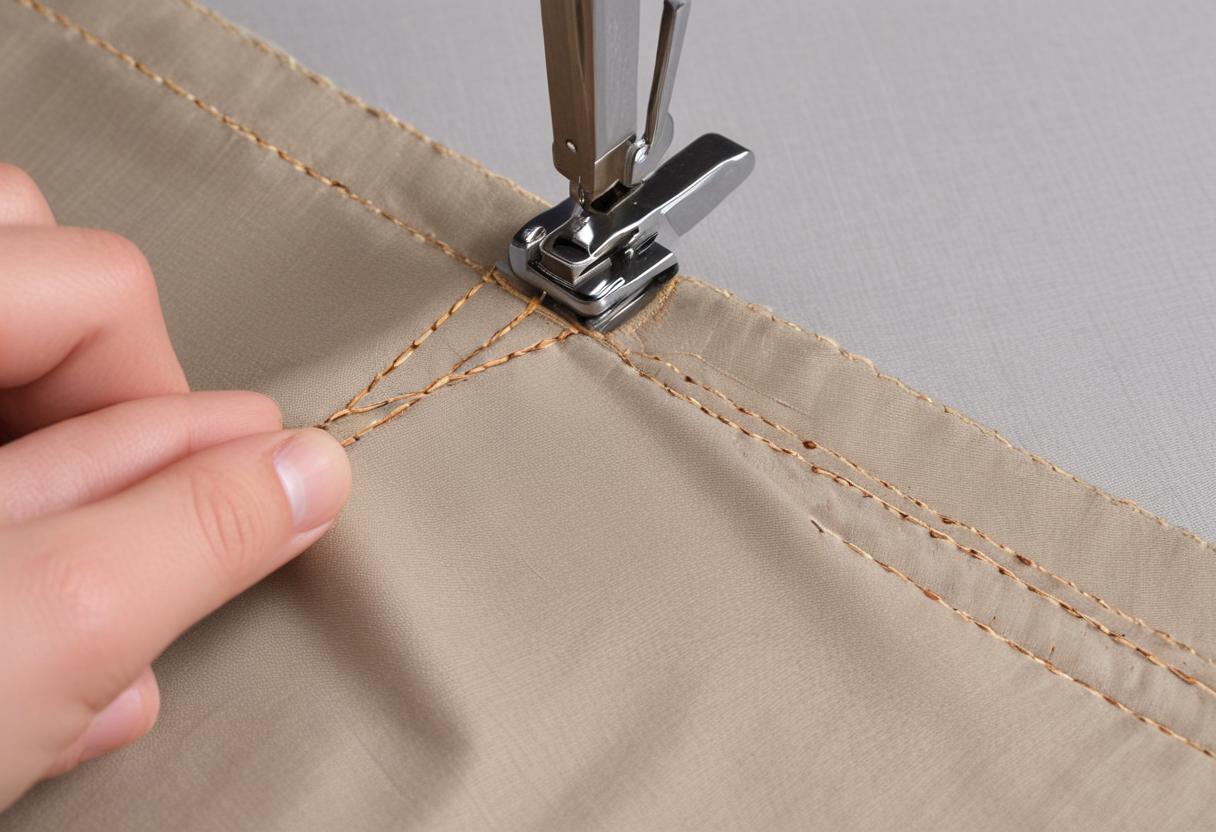
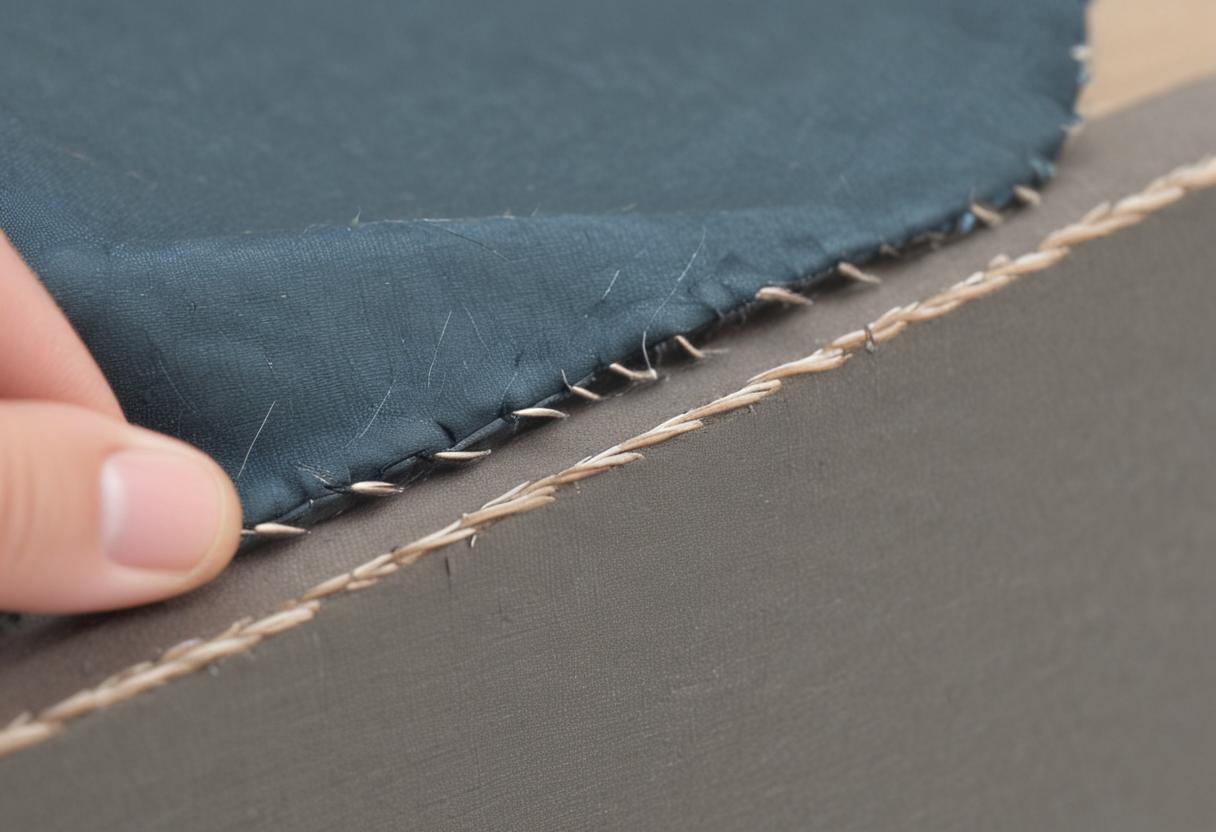
Edge stitching is a sewing technique that involves sewing a straight line of stitches very close to the edge of the fabric or along the seamline. This stitch is typically positioned about 1/8 inch (approximately 3 mm) from the edge or seamline. Edge stitching serves both functional and decorative purposes, and it is a versatile technique used in various sewing projects.
Functional Benefits of Edge Stitching
- Reinforcement:
- Seams: Edge stitching reinforces seams, especially in areas that endure a lot of stress, such as collars, cuffs, and hems. This additional line of stitching helps prevent the seams from unraveling or fraying over time.
- Fabric Edges: On fabrics that are prone to fraying, edge stitching can help secure the raw edges, providing a cleaner finish and preventing the fabric from unraveling.
- Stabilization:
- Facings and Collars: Edge stitching helps keep facings, collars, and other folded edges in place. This stabilization ensures that the fabric lies flat and maintains its shape, enhancing the overall appearance of the garment.
- Improved Durability:
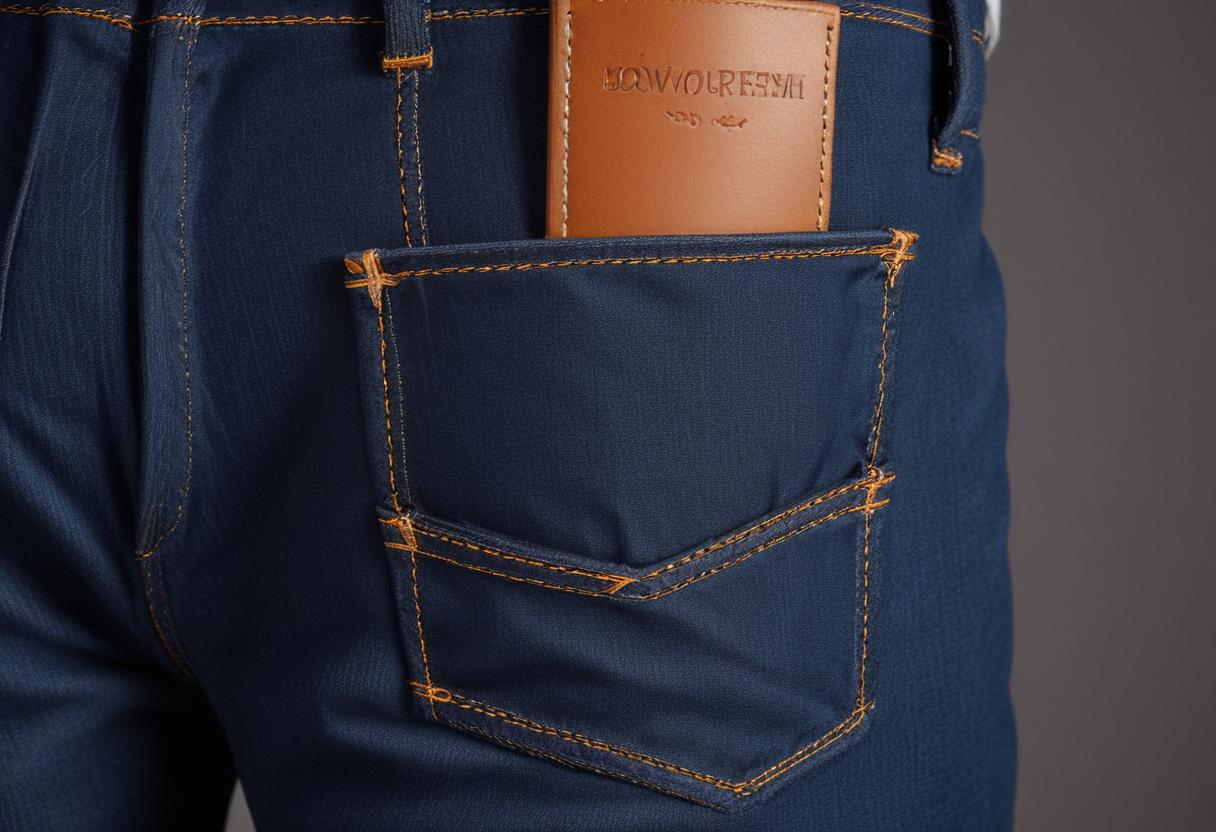
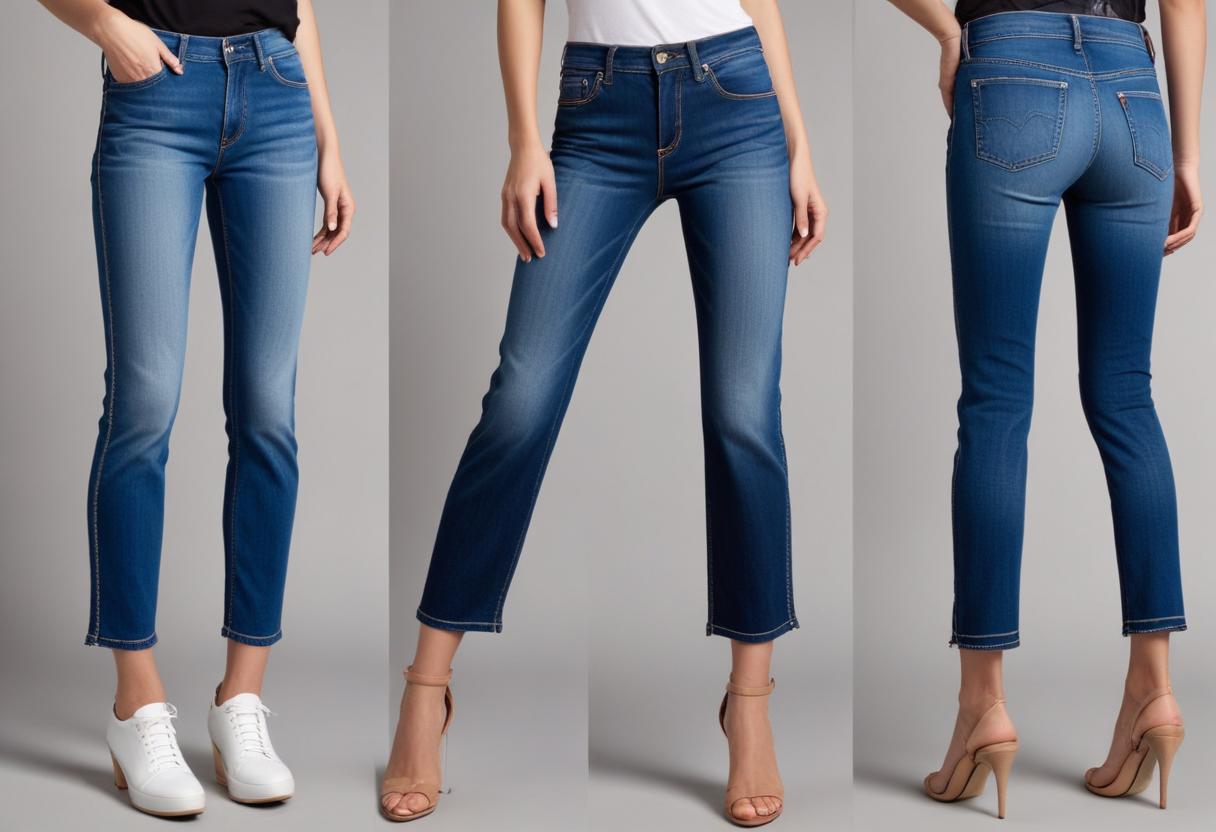
- High-wear Areas: Edge stitching is commonly used on high-wear areas such as pocket edges and denim seams. By reinforcing these areas, the garment becomes more durable and long-lasting.

- High-wear Areas: Edge stitching is commonly used on high-wear areas such as pocket edges and denim seams. By reinforcing these areas, the garment becomes more durable and long-lasting.
Decorative Benefits of Edge Stitching
Aesthetic Appeal:
- Visual Interest:
- Professional and Polished Look: Edge stitching adds a refined finish to garments and accessories, making them appear meticulously crafted. This stitch creates a clean, straight line that enhances the overall presentation of the item.
- Subtle Decorative Element: Even when done in a matching thread color, edge stitching provides a subtle enhancement. The even, parallel lines of stitches contribute to the symmetry and harmony of the garment’s design, which can elevate the garment from ordinary to sophisticated.
- Texture and Dimension: The additional line of stitches can add texture to the fabric, creating a slight raised effect that adds depth to the visual appeal of the item. This is particularly effective on thicker fabrics like denim or wool.
- Contrast Stitching:
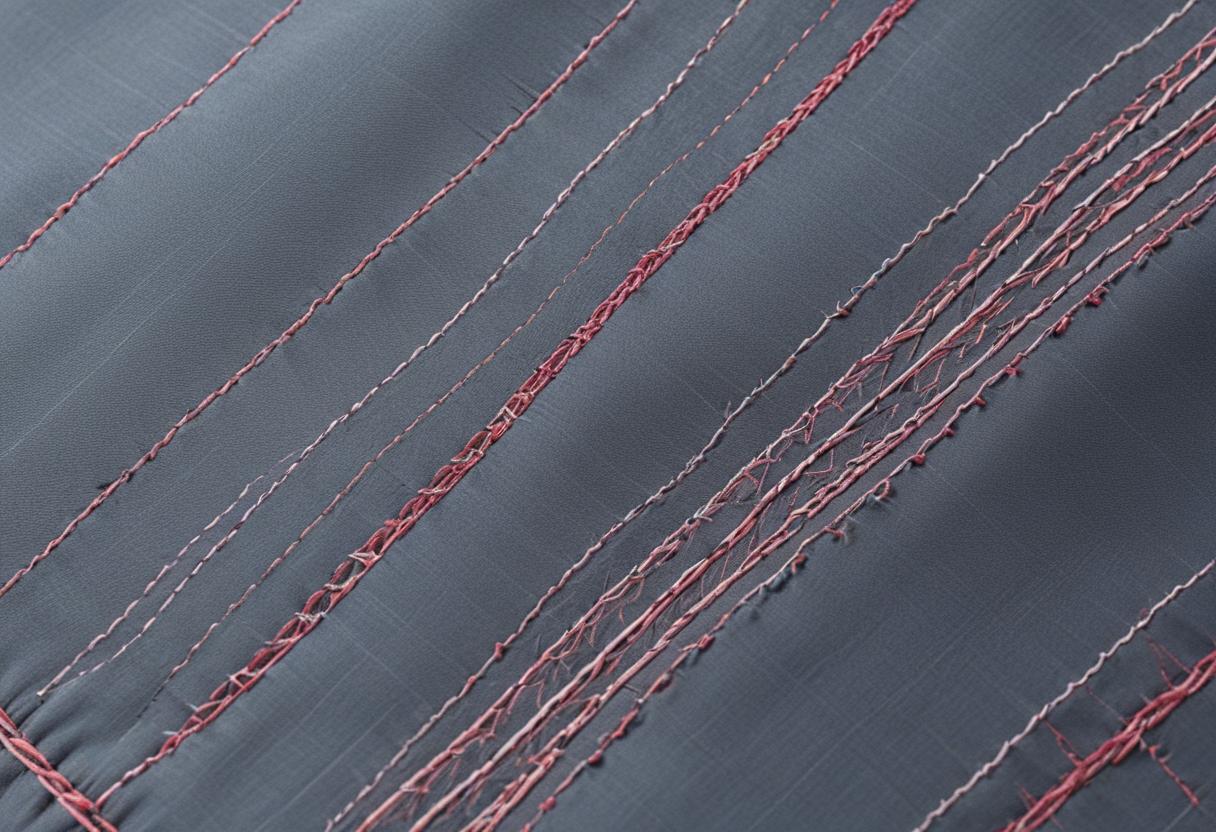
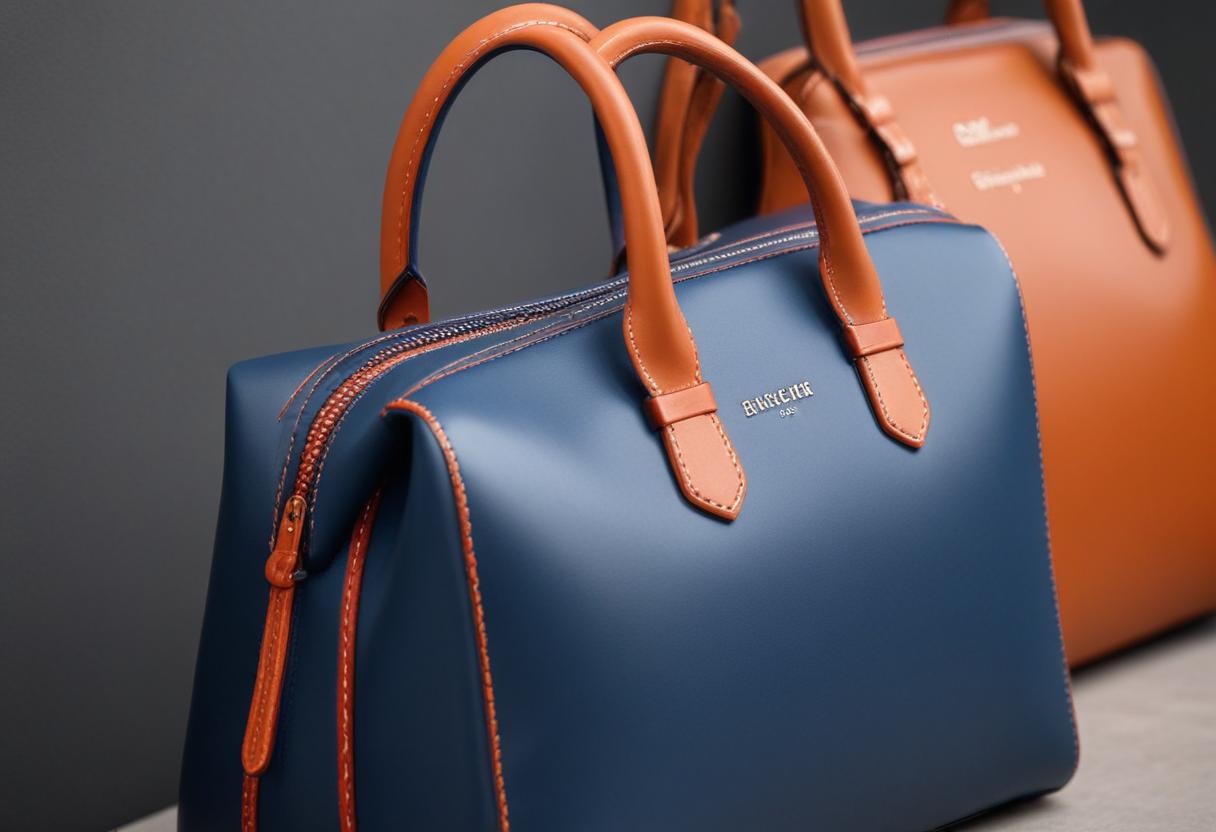
- Striking Visual Effect: Using a thread color that contrasts with the fabric color can make the edge stitching a prominent design feature. This technique is often used in decorative topstitching on jeans, jackets, and handbags to create a bold statement.
- Highlighting Design Lines: Contrast stitching can emphasize the structural lines of a garment, drawing attention to specific features such as seams, pockets, and edges. This can be used creatively to outline and highlight different parts of the garment.
- Personalization: Contrast edge stitching allows for customization and personalization of garments. By choosing thread colors that reflect personal style or brand identity, sewists can create unique and eye-catching designs.

Illusion of Height:
- Vertical Stitching:
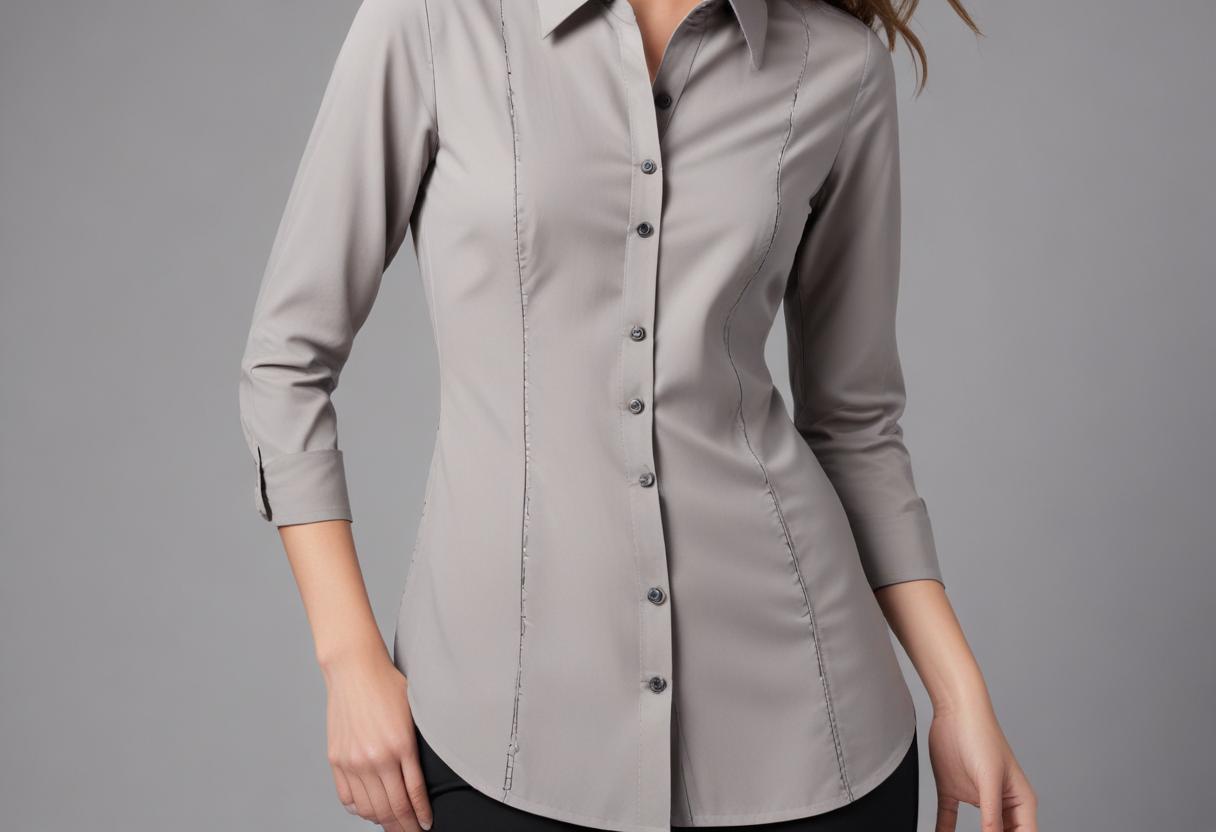
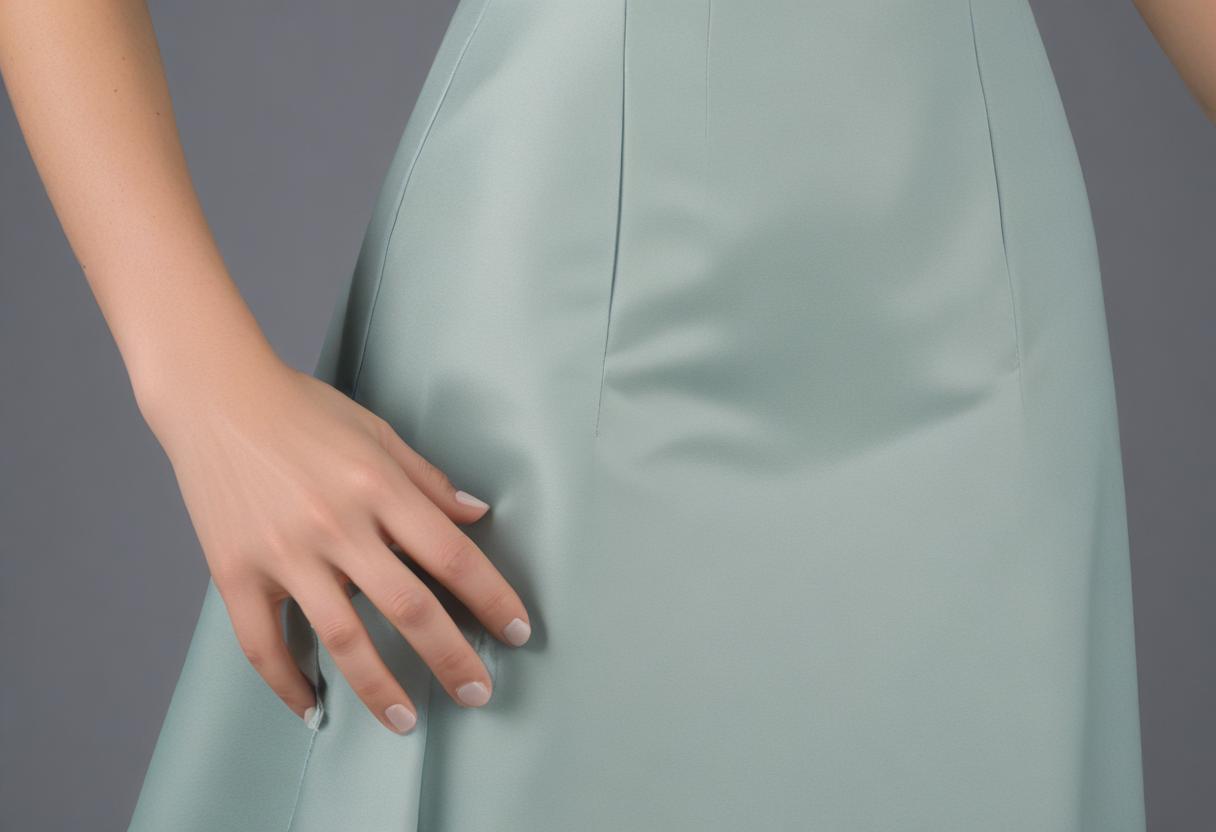
- Creating the Illusion of Length: When edge stitching is applied vertically, it can visually elongate the silhouette of the garment, making the wearer appear taller and leaner. This is particularly effective on long garments like dresses, skirts, and coats.
- Enhanced Proportions: Vertical lines can help balance proportions, especially for shorter or more petite figures. By drawing the eye up and down, vertical edge stitching can create a more elongated and streamlined appearance.
- Versatility in Design: Vertical edge stitching can be incorporated into various parts of a garment. For example, it can be used along the front placket of a shirt, the side seams of pants, or the front seams of a dress. This versatility allows designers to play with different looks and styles.
- Fashion Trends: Many fashion trends utilize vertical stitching for its slimming effect. For instance, pinstriped suits and vertically stitched denim are popular choices for creating a taller, more elegant appearance.

Common Applications of Edge Stitching
Collars and Cuffs:
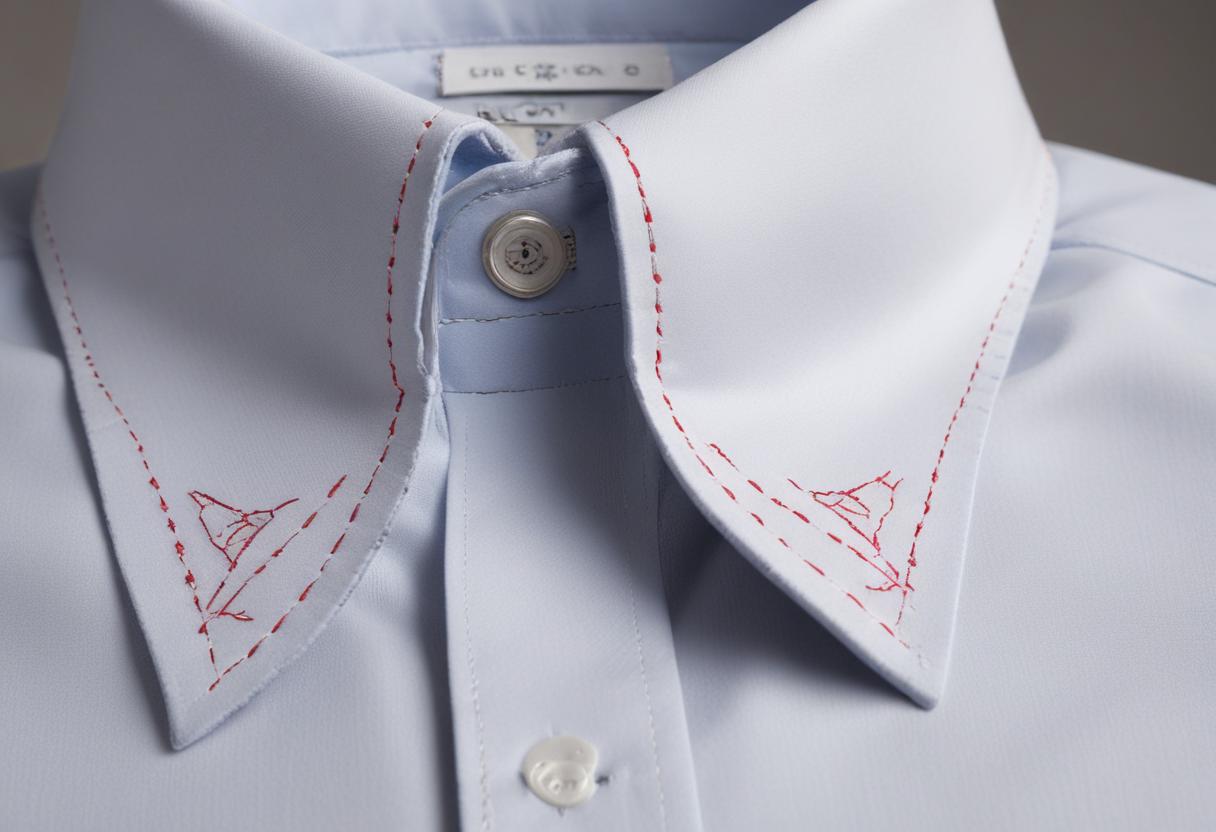
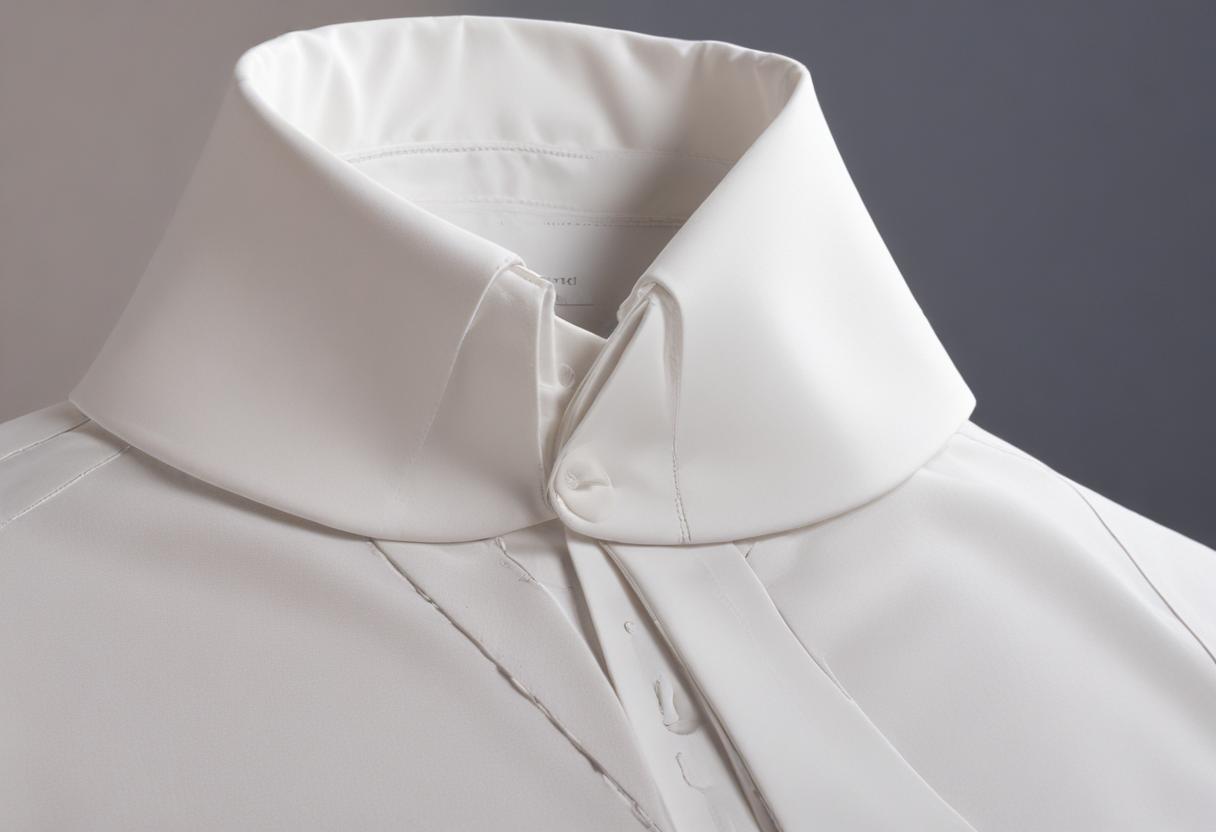
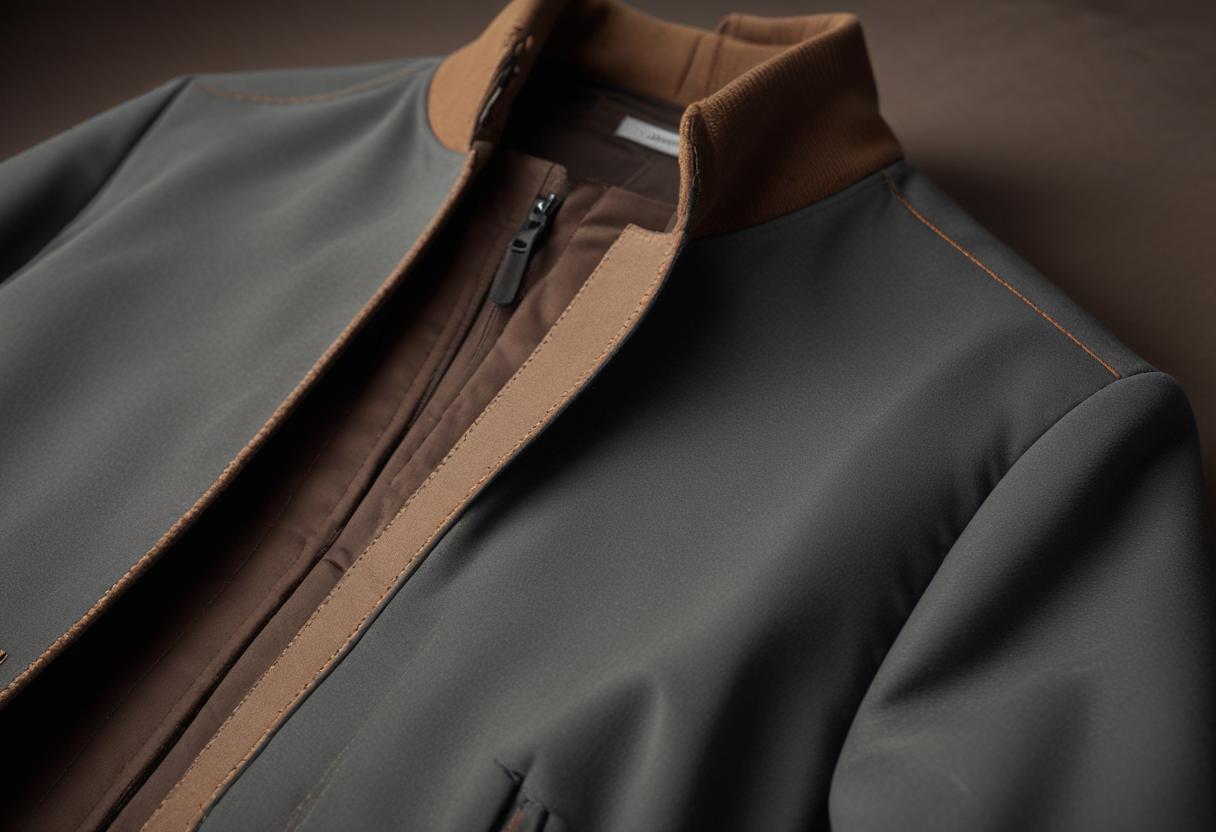
- Clean Finish: Edge stitching along the outer edges of collars and cuffs provides a neat, polished look. This stitch secures the layers of fabric together, preventing them from shifting and ensuring that the edges remain crisp.
- Prevents Rolling: By anchoring the fabric layers together, edge stitching helps to prevent the edges from curling or rolling over time, maintaining the intended shape and structure of the collar or cuff.
- Decorative Element: Adding edge stitching to collars and cuffs can also serve as a decorative detail. Using contrasting thread can highlight these areas, making them stand out as a design feature.

Hems and Facings:
- Stabilization: Edge stitching on hems and facings helps keep them in place, preventing them from flipping outwards or shifting. This is especially useful for garments with loose, flowing fabrics.
- Professional Appearance: A neatly edge-stitched hem or facing adds to the overall professional finish of the garment. It ensures that the inside of the garment looks as good as the outside.
- Decorative Touch: Similar to its use on collars and cuffs, edge stitching on hems and facings can be decorative. It can be used to add subtle detailing or to make a bold statement with contrasting thread.

Pockets and Seams:
- Reinforcement: Edge stitching along the edges of pockets and side seams, particularly on jeans and trousers, adds strength and durability. These areas are subject to a lot of stress, and edge stitching helps to reinforce the seams, preventing them from unraveling.
- Professional Look: By reinforcing these areas, edge stitching contributes to a professional, finished appearance. It makes the garment look well-constructed and high-quality.
- Aesthetic Detail: Edge stitching can also enhance the visual appeal of pockets and seams. For example, the signature stitching on denim pockets often features edge stitching, which adds to the overall style and character of the garment.

Topstitching:
- Enhanced Design: Edge stitching can be used as a form of topstitching on various parts of a garment, such as the waistband, yoke, or placket. This adds a decorative element that enhances the overall design and structure of the garment.
- Structural Integrity: In addition to its decorative function, topstitching provides additional strength and stability to the fabric. It can help maintain the shape of the garment and prevent distortion over time.
- Custom Look: Topstitching with edge stitching allows for creative expression. Using different thread colors, stitch patterns, or even combining with other decorative stitches can create a unique, custom look.

Practical Applications:
- Garments:
- Dresses and Skirts: Vertical edge stitching can be applied to seams or as a decorative element down the front or back of dresses and skirts to elongate the body.

- Pants and Jeans: On pants, especially jeans, edge stitching along the side seams or down the front can create a lengthening effect. Contrast stitching on jeans is also a classic design element that adds both style and structure.

- Jackets and Coats: Edge stitching on the vertical seams of jackets and coats not only reinforces the seams but also enhances the garment’s structure and silhouette.

- Dresses and Skirts: Vertical edge stitching can be applied to seams or as a decorative element down the front or back of dresses and skirts to elongate the body.
- Accessories:
- Bags and Purses: Edge stitching on bags and purses can provide a polished finish and add strength to the edges. Using contrasting thread can also create a chic and stylish look.

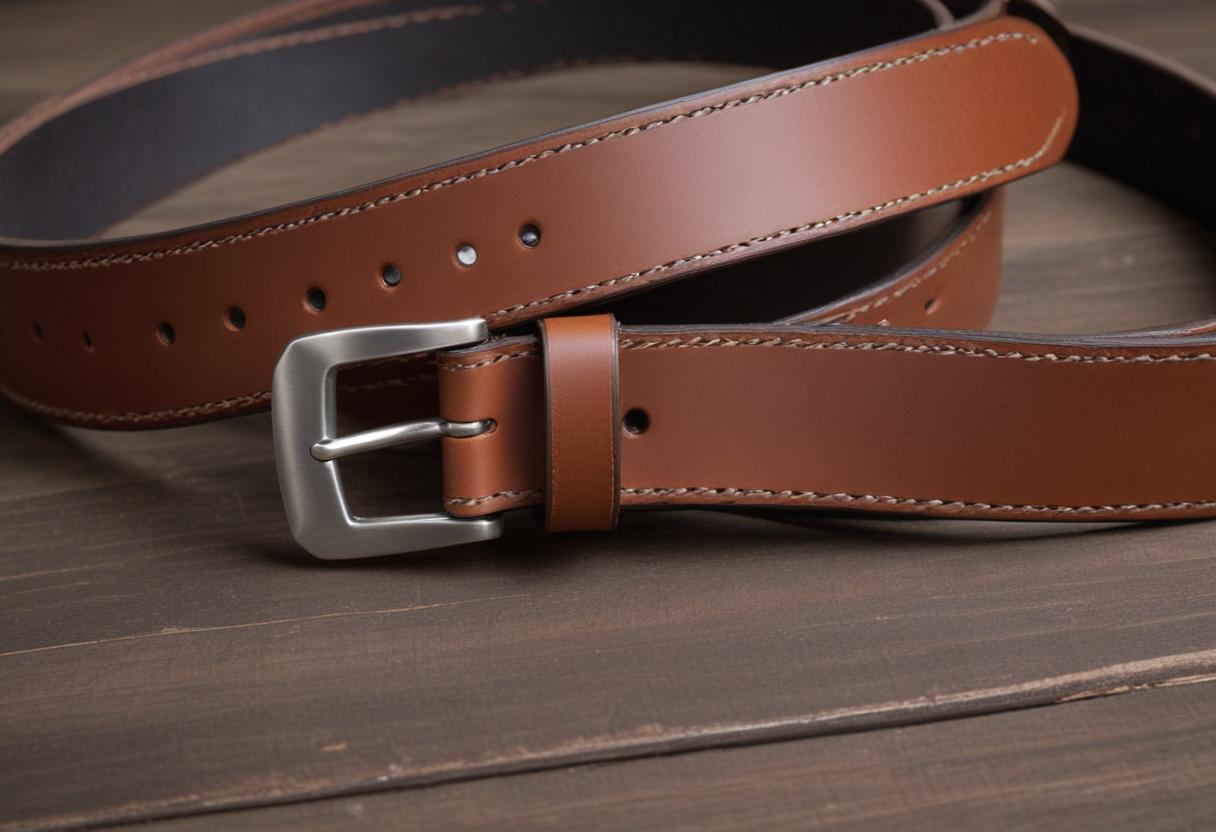
- Belts: Edge stitching on belts adds durability and a refined appearance, making the belt look high-quality and well-crafted.

- Bags and Purses: Edge stitching on bags and purses can provide a polished finish and add strength to the edges. Using contrasting thread can also create a chic and stylish look.
Edge Stitching – How do it (Tips and Techniques)
Tools and Equipment:
- Sewing Machine Foot:
- Standard Presser Foot: While edge stitching can be accomplished with a standard presser foot, it requires a steady hand and careful attention to maintain a consistent distance from the edge. Beginners might find it challenging to achieve precise results without additional aids.
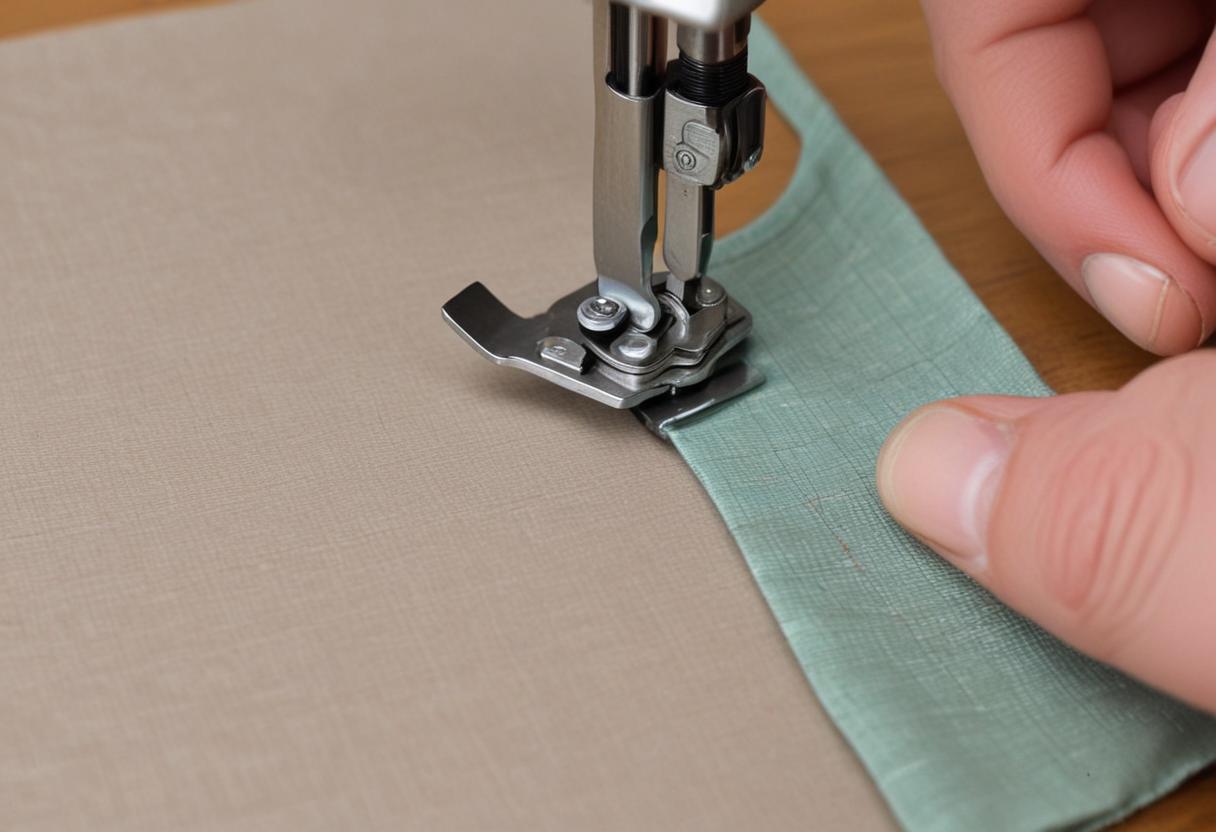
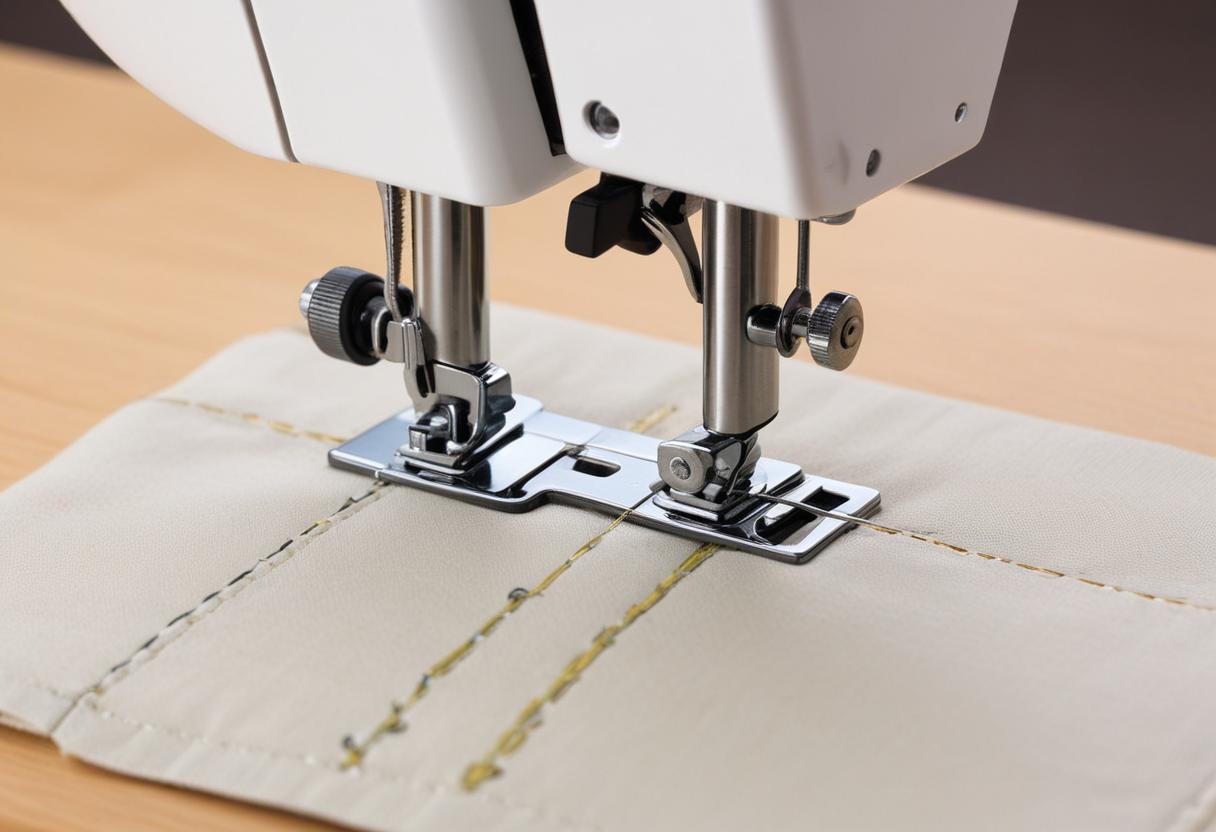
- Edge Stitching Foot: This specialized foot has a central guide that runs along the edge of the fabric, helping to maintain an exact distance from the edge. It ensures uniform stitches and makes the process faster and more accurate.
- Blind Hem Foot: Similar to the edge stitching foot, the blind hem foot has an adjustable guide, which can be set to the desired distance from the edge. This foot is particularly useful for ensuring straight lines on intricate projects.
- Needles and Thread:
- Needle Selection: Choose a needle that is appropriate for your fabric type. For lightweight fabrics, a fine needle (e.g., size 70/10) is suitable, while heavier fabrics like denim require a stronger needle (e.g., size 90/14 or 100/16).
- Thread Quality: Use a high-quality thread to ensure even stitches and avoid breakage. Polyester thread is durable and versatile, while cotton thread is ideal for natural fabrics. For decorative stitching, consider using a slightly thicker or contrasting thread for a more pronounced effect.
Preparation:
- Pressing:
- Ironing the Fabric: Before edge stitching, press the fabric or seams with an iron to create a crisp fold. This step is crucial as it helps the fabric lay flat and makes it easier to sew close to the edge without puckering.
- Seam Pressing: For seams, press them open or to one side as required by your project. A well-pressed seam ensures a smooth surface for edge stitching and enhances the final appearance.
- Marking:
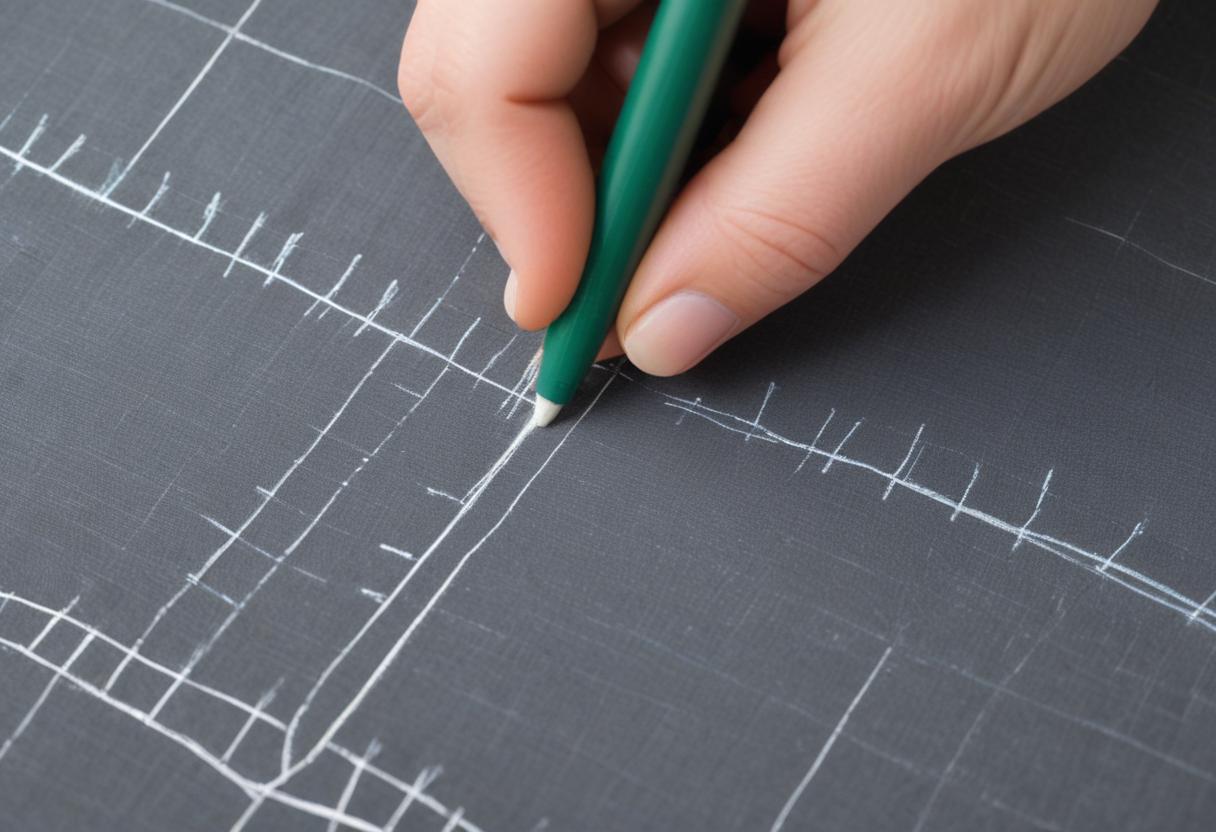
- Straight Lines: Use a fabric marker, chalk, or a hera marker to draw a guide line along the fabric edge where you plan to stitch. This is especially helpful for beginners or when working on long, straight edges.

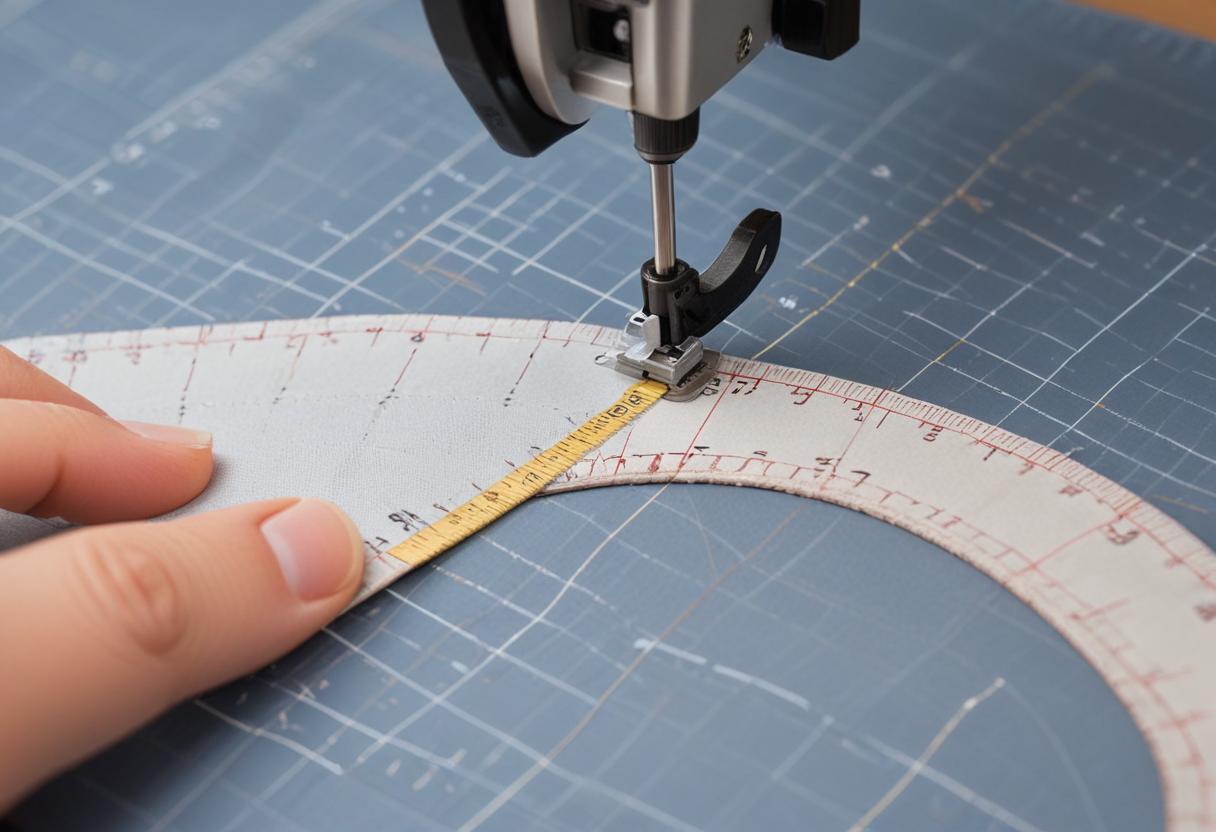
- Curved or Intricate Areas: For curved seams or detailed sections, marking the stitching line ensures accuracy and helps maintain a consistent distance from the edge. Use a flexible ruler or tailor’s chalk to trace the curves accurately.

- Straight Lines: Use a fabric marker, chalk, or a hera marker to draw a guide line along the fabric edge where you plan to stitch. This is especially helpful for beginners or when working on long, straight edges.
Sewing:
- Consistent Distance:
- Using the Guide: Align the edge of the fabric with the guide on your presser foot to maintain a consistent distance, typically about 1/8 inch (3 mm) from the edge. If using a standard presser foot, adjust your needle position to achieve the desired distance.
- Steady Speed: Sew at a moderate and steady speed to ensure even stitches. Going too fast can lead to uneven stitching and loss of control, especially on curved edges.
- Stitch Length:
- Optimal Length: A shorter stitch length (e.g., 2.0 – 2.5 mm) can provide a neater appearance and a stronger seam, particularly on finer fabrics. For thicker fabrics, a slightly longer stitch length (e.g., 2.5 – 3.0 mm) may be more suitable to avoid puckering.
- Test on Scrap Fabric: Before starting on your main project, test the stitch length on a scrap piece of the same fabric. This allows you to adjust the settings for the best results and ensures that the tension and stitch length are appropriate.
Additional Tips:
- Needle Position: On some sewing machines, you can adjust the needle position to the left or right to achieve the perfect distance from the edge. This can be particularly useful when working with a standard presser foot.
- Seam Guide: If your sewing machine has a built-in seam guide, use it to keep your stitches straight and even. Alternatively, you can attach a magnetic seam guide to the machine’s plate for added precision.
- Pivoting: When edge stitching around corners, pivot the fabric with the needle down at the corner point to maintain the correct distance from the edge. Lift the presser foot, turn the fabric, and lower the presser foot to continue stitching along the new edge.
Edge stitching is a valuable technique that adds both functionality and decoration to sewing projects. By using the right tools, properly preparing your fabric, and maintaining consistency in your sewing, you can achieve professional and polished results. Whether you’re reinforcing seams, adding decorative touches, or creating a tailored finish, mastering edge stitching will enhance the quality and appearance of your garments and accessories.
How to Edge Stitch: Step by Step
Stitch the Seam:
- Sew the Seam:
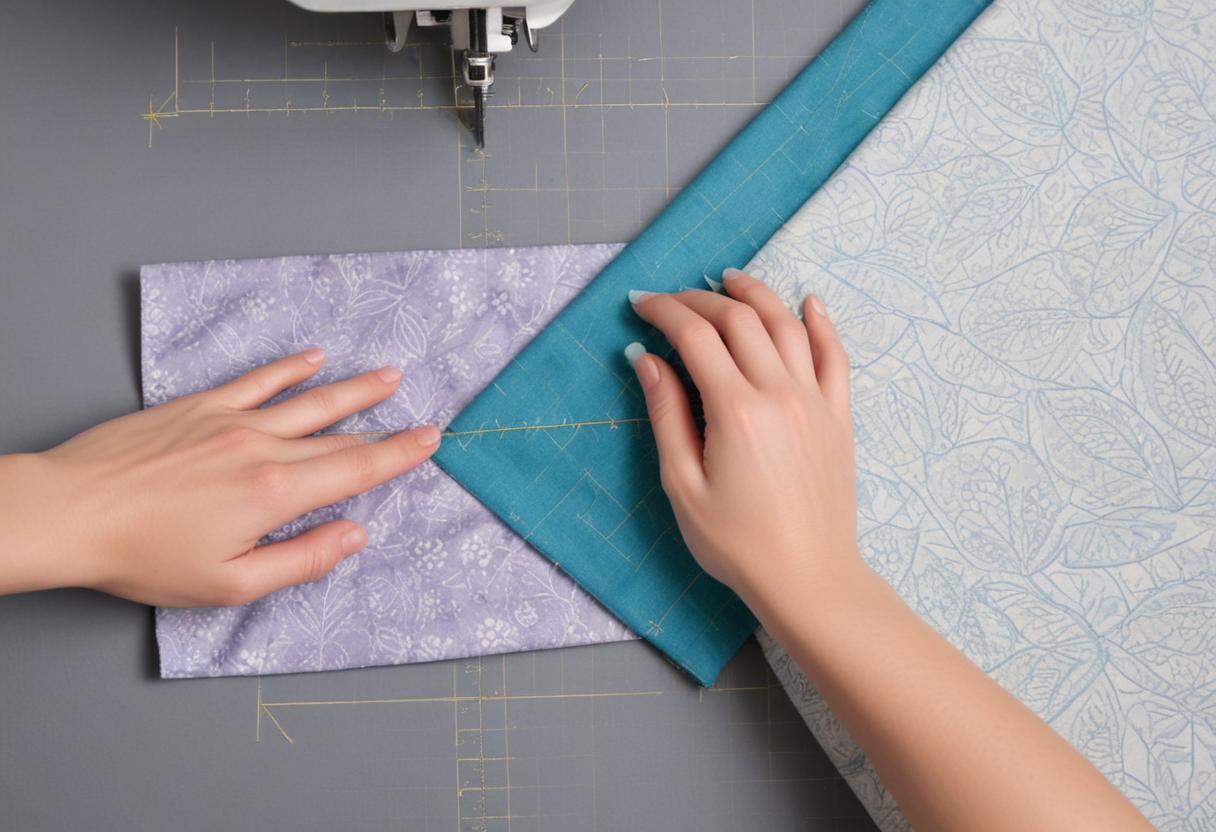
- Align the Fabric: Place fabric pieces with their right sides together, ensuring edges are matched precisely.
- Set Seam Allowance: Sew along the seam line with the required seam allowance as specified by your pattern. This could vary from 1/4 inch to 5/8 inch depending on the project.
- Consistent Stitching: Maintain a consistent stitch length to ensure an even seam.
- Press Open the Seam:
- Press Flat: Use an iron to press the seam allowances open. This step is crucial for achieving a flat and smooth seam.
- Use a Pressing Cloth: For delicate fabrics, use a pressing cloth to protect the fabric from heat damage.
- Set Creases: Pressing sets the creases and makes the fabric easier to handle during edge stitching.
- Edge Stitch the Seam:
- Setup Machine: Select a straight stitch on your sewing machine and adjust the stitch length slightly shorter for a neater finish.
- Position Fabric: Align the seam edge or fold under the presser foot. Use an edge stitch foot if available for better precision.
- Sew the Edge Stitch: Sew a straight line of stitches about ⅛ inch (3mm) from the edge or seamline, guiding the fabric carefully to maintain even stitching.
Best Edge Stitch Foot
All-Purpose Foot:
- Standard Attachment: Comes with most sewing machines and is versatile for various sewing tasks.
- Flat Surface: Although it lacks specialized guides, with careful attention, it can be used effectively for edge stitching.
- Adjustability: You can often adjust the needle position to help maintain a consistent distance from the edge.
Edge Stitch Foot:
- Specialized Design: Also known as a stitch in the ditch foot or edge joining foot, designed specifically for edge stitching.
- Built-In Guide: Features a small guide or blade in the center, which keeps your stitching aligned precisely along the edge or seam.
- Enhanced Precision: Ensures consistent and professional-looking results, especially useful for detailed work.
Choosing the Right Foot for Edge Stitching
- Assess Your Needs: Consider how often you edge stitch and the precision required for your projects.
- All-Purpose Foot: Suitable for occasional edge stitching projects, provided you can manage alignment well.
- Edge Stitch Foot: Recommended for frequent edge stitching and when extra accuracy is needed. It offers added convenience and precision.
Preparing the Fabric
- Position the Fabric:

- Right Sides Together: Align fabric pieces with right sides facing each other.
- Match Edges: Ensure the edges to be stitched are perfectly aligned to avoid uneven seams.
- Set Your Machine:
- Straight Stitch Setting: Select a straight stitch on your sewing machine.
- Adjust Stitch Length: Set the stitch length according to your pattern or preference, usually shorter for a neater edge stitch.
- Position the Fabric Under the Presser Foot:

- Align Edge: Place the fabric edge under the presser foot, aligning it with the guide if using an edge stitch foot.
- Check Alignment: Ensure the fabric is properly aligned to maintain a consistent distance from the edge during stitching.
- Start Stitching:
- Lower Presser Foot: Lower the presser foot to hold the fabric in place.
- Sew Seam: Begin sewing, maintaining a steady pace and consistent seam allowance as indicated in your pattern.
- Backstitching:
- Secure Stitches: Backstitch at the beginning and end of the seam to secure the stitches and prevent unraveling.
- Finish the Edges (Optional):
- Prevent Fraying: Depending on the fabric type and desired finish, use a serger, overcast stitch, or pinking shears to finish raw edges.
Additional Tips for Edge Stitching
- Control Speed: Reduce the speed of your sewing machine for greater control and precision during edge stitching.
- Check Stitch Length: Test the stitch length on a scrap piece of the same fabric to ensure it suits your project.
- Practice on Scrap Fabric: Before working on your main project, practice edge stitching on scrap fabric to fine-tune your technique and machine settings.
- Consistent Pressure: Apply even pressure on the fabric while sewing to avoid puckering or uneven stitches.
- Use the Right Needle: Ensure you’re using the appropriate needle for your fabric type to prevent skipped stitches or damage.
Edge Stitching for Decorative Purposes
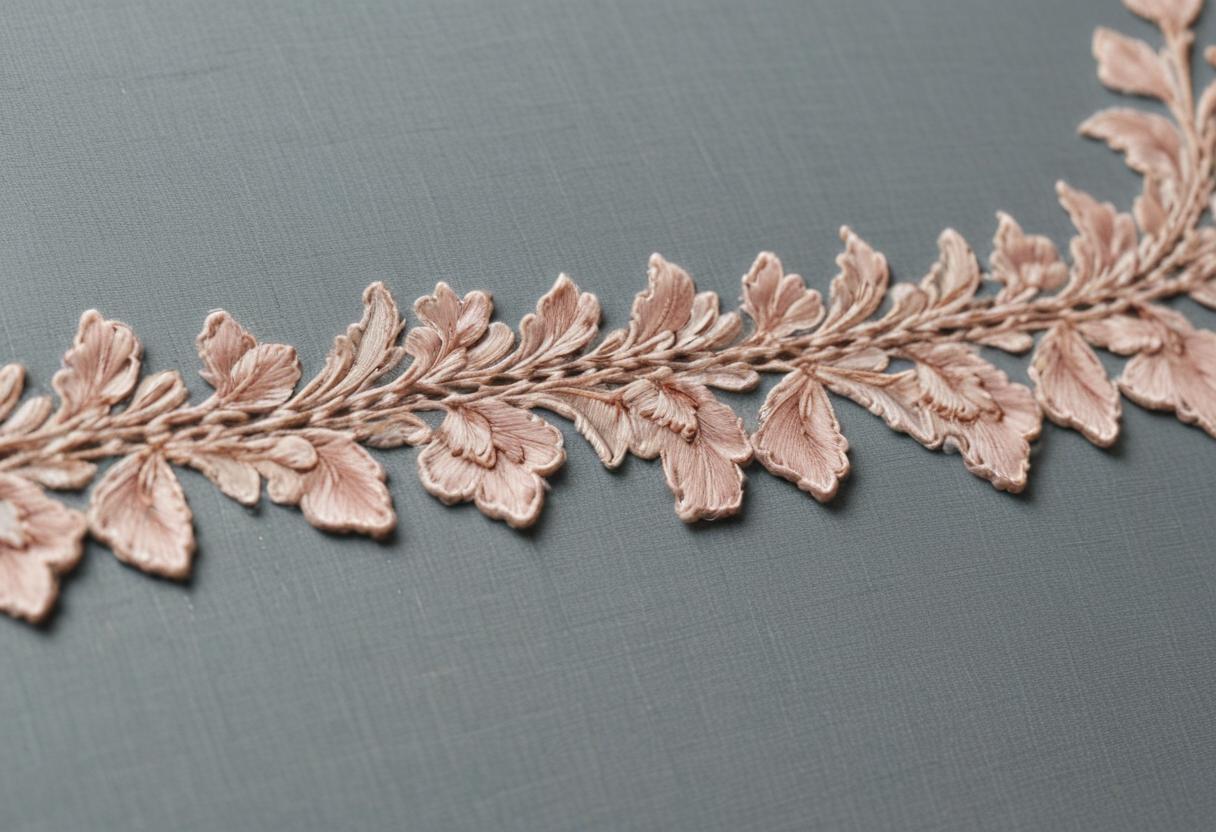
- Ribbons and Trims: Use edge stitching to attach ribbons and fabric trims, adding decorative and professional touches to your projects. The edge stitch secures these embellishments neatly and enhances the overall appearance of your garment or accessory.
Edge Stitch in Knitting
- Definition: In knitting, edge stitch refers to specific stitches that prevent the fabric from unraveling at the edges and create a neat finish.
- Types: Common edge stitches include slip stitch, garter stitch, and other variations that provide stability and a polished look to the edges of knitted fabric.
By following these detailed steps and tips, you can master edge stitching, enhancing both the durability and aesthetics of your sewing projects. Whether you’re a beginner or an experienced sewist, these techniques will help you achieve professional and polished results.
Edge stitching is a straightforward yet highly effective sewing technique that enhances both the durability and aesthetics of garments and accessories. By mastering edge stitching, you can add a professional touch to your sewing projects, ensuring that your creations are not only beautiful but also long-lasting. Whether you are reinforcing seams, stabilizing fabric edges, or adding decorative details, edge stitching is a valuable skill for any sewist.
Key Benefits:
- Durability: Reinforces high-stress areas, preventing seams and edges from unraveling or fraying.
- Aesthetic Appeal: Adds a polished, professional finish and can serve as a decorative element.
- Stabilization: Keeps fabric layers and edges in place, maintaining the garment’s shape and structure.
By incorporating edge stitching into your sewing repertoire, you can create garments and accessories that are not only functional and durable but also visually appealing and professionally finished. This versatile technique is essential for any sewist looking to enhance their craft and produce high-quality, long-lasting items
